


The change from summer to fall brings on what I like to think of as blanket weather. There is nothing better than snuggling into a warm blanket while reading, covering your lap while you are sewing or just draping a beautiful blanket on the couch for fall décor.
When I saw these adorable creature blankets I knew I had to have them for the little ones in my life. They are so amazingly soft and make for a fun and quick personalized gift. These sleepy creatures are sure to become any child big or small's favorite sleepy time friend.
When choosing which machine to use for this project I decided on the Solaris as the large hoop 10 5/8” x 16” was going to make this project quick and easy. Embroidery that used to have to be done in two different hoops on other machines I was able to complete in one. For this project I used the following supplies: Solaris, black thread, large embroidery hoop. Perfect stick pressure sensitive tear away, water soluble topping, grip tape, scissors and a seam fix.
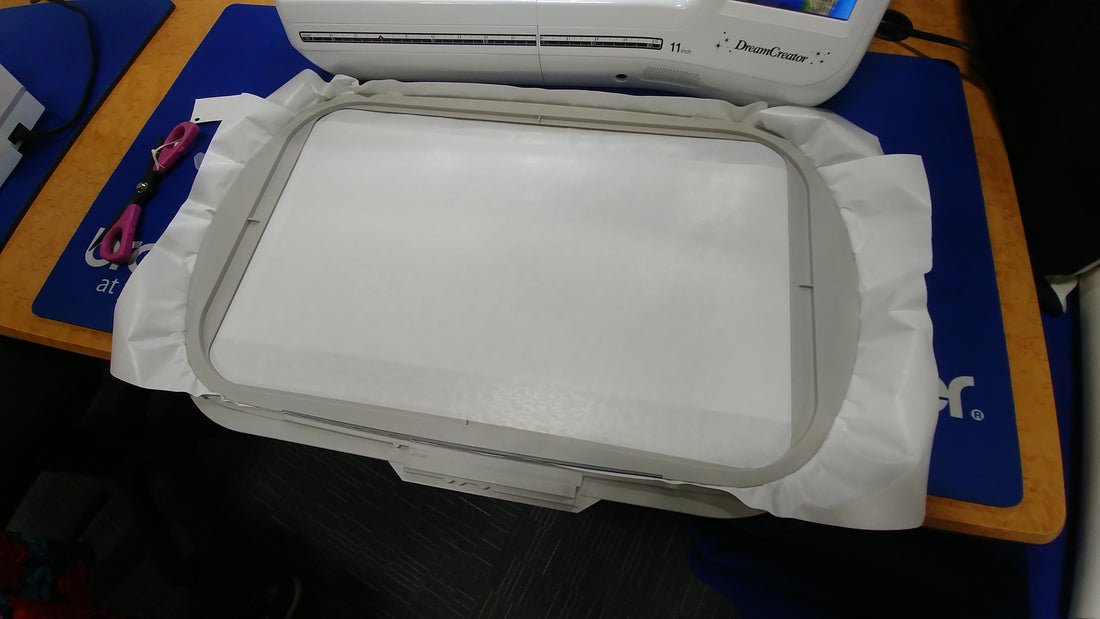
The perfect stick is nice because it allows you to position your blanket on the hoop but easily adjust it if needed. Due to the large size of the hoop I needed to overlap two pieces of the tear away to fill the full space of the hoop.
After cutting two pieces about the same size, score the bottom piece in the center and remove the center so that the bottom piece of perfect stick will adhere the top creating a patched together large sheet that will fill the hoop. Secure the large patchwork piece of perfect stick in the hoop. With your scissors score an X in the center of the paper and peel the protective sheet off the perfect stick from the center out to the edges. When you get to the hoop peal down the edge. This will leave you with the center that has the sticky paper showing.
Position the blanket on the perfect stick in the hoop. Making sure you center the design within the hoop space. If you don’t get it right the first time simply remove the blanket and reposition. That is the great part of using the perfect stick: it does allow for some adjustments as needed.
On a fabric like minky you will want to use a topper so that your design will stich out correctly. Once your blanket is in position then cover the areas where you plan to embroider with Water Soluble Topping and secure the topping in place with the grip tape. You only need to add the topping where you plan to embroider. You are now ready to use your machine.
Secure the hoop into the Solaris and scan the image. Scanning the image allows for perfect positioning of the design you plan to stitch out the first time. The screen shows the placement of your fabric in the hoop and how your design will stitch out. I wanted to add a fun saying to my blanket, so I simply selected the type font for my design and then adjusted the spacing, array and placement simply by adjusting the image on the screen.
I have learned to save my design before stitching it out in case I get called away from my project unexpectedly, so I don’t have to start over.
Once saved, secure everything with a basting stitch so that you don’t have to worry about the topping moving or having any problems when stitching out the design. To do this simply select the rectangular box and position it on the screen so it will go around the outside of the desired design. This is especially important with the critter blankets to ensure the ears and feet will not be in the way when the design stitches out. Adjust the speed to go a bit slower when stitching the basting around the ears and feet. That will allow to you to see any areas that might be tricky and allow you to stop the skip part of the box if needed so that the needle will not get stuck in the thick fabric of an ear or foot.
Once the basting stitch is complete you are ready to increase the stitching speed a bit and press go to have your design stitch out. The beauty of the hoop being large enough to do the top and bottom of this design means I only needed to set up the design once. Listen to how your machine sounds as it stitches out the design. You will hear a small pop each time the needle goes through the topping. If you hear the sound change or if your thread starts to break it could mean you have some adhesive build up on your needle. This happens sometimes when using Perfect Stick as the adhesive transfers to the needle as it stitches the designs. If this happens simply use some rubbing alcohol on a cotton ball to clean off your needle and continue stitching out your design.
Once your design has finished stitching you can remove the hoop from the machine. Tear off any additional topping from the front of the project. Make sure you get any small pieces off that might be left behind in the spaces of some letters. Then, flip over the design while still in the hoop and use a seam-fix to remove the temporary basting stitch that we added to the outside of the design to keep everything in place. Once that outline has been removed from the back flip the hoop over and remove any lingering basing treads on the front of the blanket. You can then pull the blanket away from the perfect stick tear away. Again, be sure to remove any left behind in the holes of letters. Trim the ends of the threads.
You now have a fun personalized critter blanket that is sure to bring a smile to the face of anyone lucky enough to receive one.
Happy Sewing,
~Carrie

