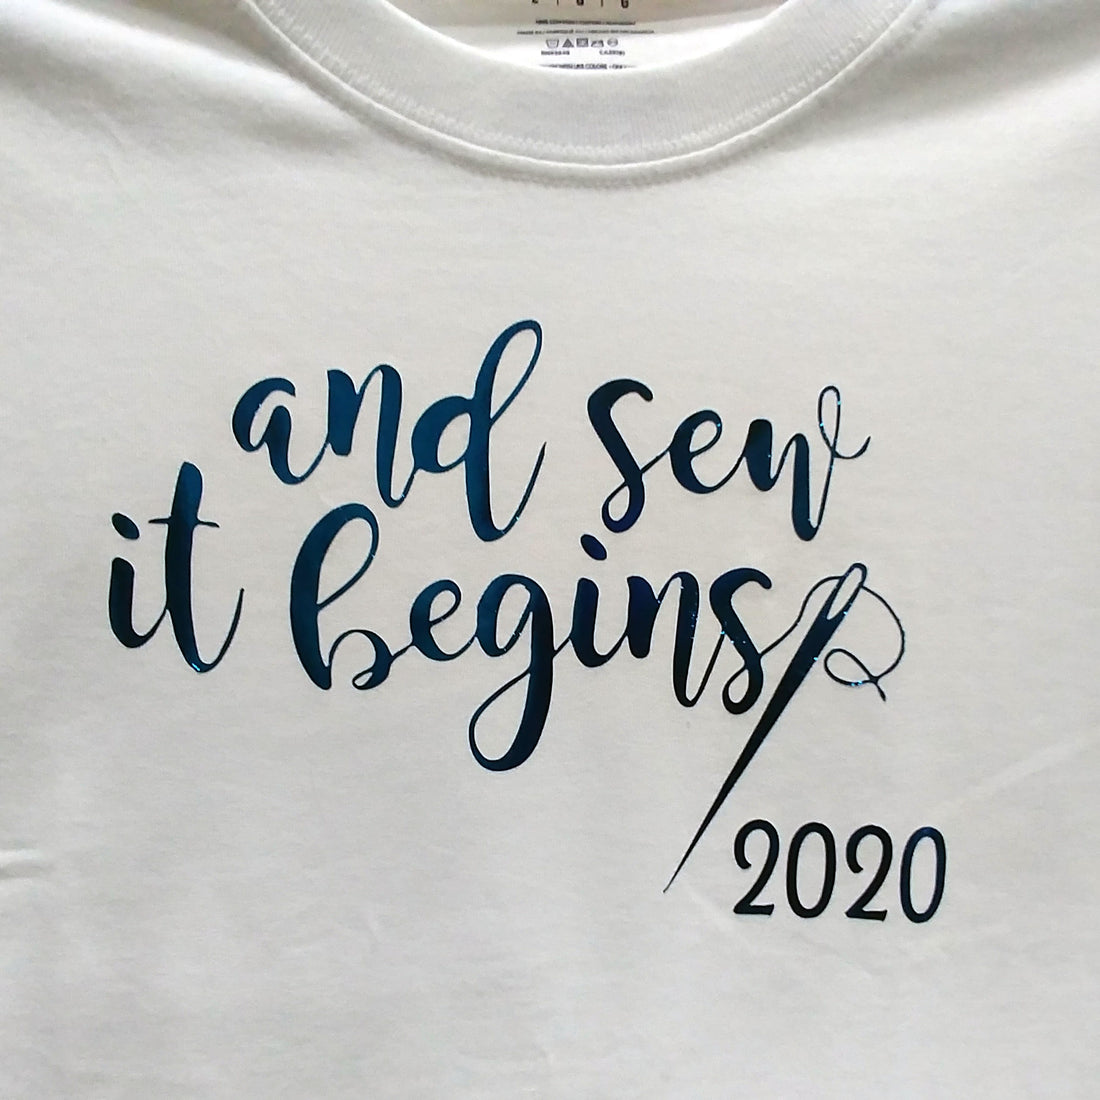
With a ScanNCut your creative sewing and crafting possibilities are endless! Recently we used a ScanNCut to make a fun design for a t-shirt to celebrate the new year. Here is the process we followed:
- Find or create a fun saying or design you would like to add to your shirt. Print the design on your home computer's printer.
- Scan the image into your ScanNCut by using "Scan to Data" and save it to the machine. To make things even easier, use a Scanning Mat if you have one.
- Open your design by touching "Saved Data" and then selecting where you have saved the design. Resize the design as desired. You will need to mirror-image the design. You need to do this so that when the foil or vinyl is applied to the shirt the saying will placed correctly to read it. If you simply cut out the design the way you scan it then it will backwards when applied to your shirt.
- Place a piece of ScannCut Iron-On Vinyl or Embellish Heat Transfer Foil shiny/colored/pretty side down on the standard tack mat and cut out the design.
- Once the design is cut, remove the extra unneeded vinyl from around the design. For small areas it is best to use the Embellish Weeding Tool. It will help you remove the small parts you don’t want in the design without damaging the design. When you are done weeding you will have your design left on a clear carrier sheet. This sheet keeps your design aligned appropriately and also protects the vinyl and your fabric.
- Center the design on the garment you are embellishing. For perfect placement we used the Embellish Centering T-shirt Ruler. This tool has guides to help you center and keep your design straight. With special markings for the neckline both rounded and v-neck you are sure to have your design perfectly placed.
Learn more about this ruler and how to use it from Reva here:
- Now that your design is perfectly placed with the correct side facing you, use a press cloth and hot iron to set the vinyl in place. It is important to use a press cloth so that you don’t melt the vinyl on to your iron. Make sure you press and lift the iron from one part of the design to the next rather than dragging your iron back and forth. Dragging the iron can cause your design to shift, so lift and press the iron to prevent movement. Make sure to read the instructions for your heat applied vinyl, as some will require the clear carrier sheet to be removed while it is still hot and some will need it completely cooled. Remove the plastic and you have a custom shirt that will be totally unique to you!
With a ScanNCut you can quickly and easily create various custom items. You are only limited by your own imagination.

