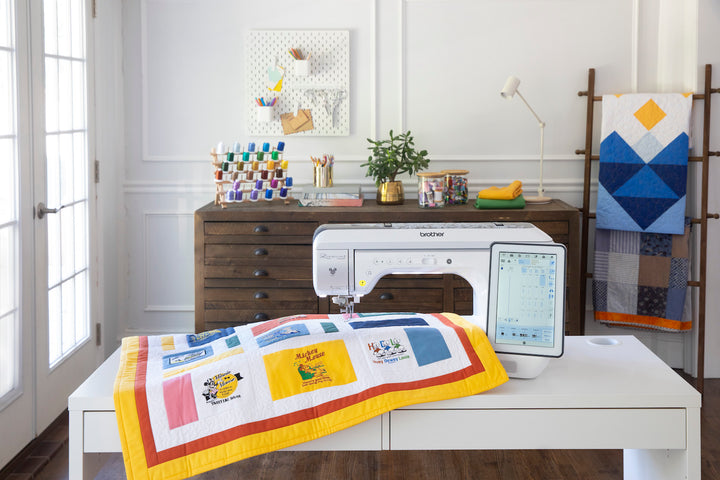
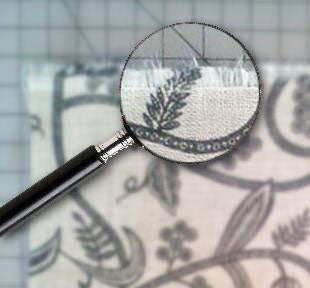
One of the newer innovations in home embroidery is cutwork needles. These specialty cutting needles along with specifically digitized designs make it possible to create beautiful cutwork or applique projects on your embroidery machine while your machine does all the fabric cutting. No scissors needed- what a treat!
There are needles that are made for Bernina embroidery machines as well as Pfaff, Viking & Inspira needles. The Pfaff, Viking or Inspira needles can be used in any brand and model of embroidery machine as long as your machines thread breakage sensor can be turned off.
Embroidery design packs have been created to be used with these needles. Pfaff, Viking and OESD offer these design packs. Each of these designs are compatible with all embroidery machines, regardless of brand. The size of the design and the size of your hoop is the only limitation. Pfaff offers a fantastic Embroidery Cutwork Needle Kit, which includes an Inspira Cutwork Needle 4 Pack, a cd with 5 multi-format designs and a multi-purpose needle inserter tool.
Here is what you need to know...
Pfaff, Viking & Inspira Needles are the same as each other and are completely interchangeable. Designs made specifically for these needles will either ask you for "Cutwork Needle#" (on Pfaff Creative Vision and Viking Diamond) or by color on all other machines. They are Color Coded as well as Numbered. Each needle has a cutting blade that is angled in a specific way (the angel is depicted, below, after the color).
Needle 1 is Red: /
Needle 2 is Yellow: -
Needle 3 is Green: \
Needle 4 is Blue: I
Bernina Needles are unique to themselves. Designs made specifically for these needles will tell you which needle position to use and are usually used in order 1, 2 , 3, 4. On machines other than Bernina, refer to the stitching instructions and put in the cutwork needles when requested. There is only one needle, it is attached to a wheel that you dial to switch the angle of the blade (Each blade position is numbered from 1 to 4, the angle is depicted below, after the needle number).
Position 1: I
Postition 2: /
Position 3: -
Position 4: \
Let me know if you have any questions!
Enjoy -
Reva

