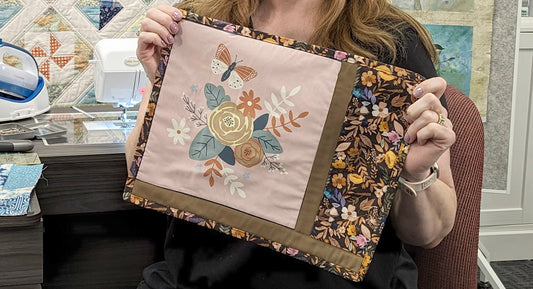
Serger Crochet makes a lovely decorative edge for home decor or garments, is very easy to do, and is fun to create. This type of serged edge finish is created by stitching multiple rows of a 3 thread wide stitch, overlapping them as you work out away from the fabric. You will start with the first row stitched onto the fabric and then stitch each additional row, overlapping the previous with wash away stabilizer as the base (like Floriani Wet N Gone).
When stitching each row, sew with the needle stitching halfway onto the previous row with a strip of the stabilizer underneath acting as the base fabric for each consecutive row. When it is time for the next row, add another strip of stabilizer and stitch overlapping the previous row once again. Continue until the edge is as wide as you would like.
HOW TO:
Set up Your Serger for a 3-Thread Wide Stitch
See your manual for the specifics
Threads will make a big difference. Consider using a heavy weight thread in the upper looper (like a 12 weight), a wooly poly (like Aerolock) in the lower looper and a coordinating regular thread in the needle. This will give you nice coverage and a lovely look, plus the wooly poly can withstand the heat of an iron where a wooly nylon can not. When you are ready to finish up, use a double-eyed needle to bury the thread tail into the rows of stitching. If you want extra security, use a seam sealant that will not yellow or get crusty (Note, seam sealant is runny, so use a pin to poke a hole in the tip & do not cut with scissors). A colorful variation is to use up to 6 embroidery threads of various color in the upper looper. Now that’s fun!
Happy Sewing!
~Reva


