Do you remember, back in elementary school, how much fun it was weaving construction paper strips together to make a checkerboard placemat? I always loved that project. There was something so instantly gratifying to see how the pattern began to form from something so simple.
Later, paper turned into fabric. Strips of fabrics can so beautifully be transformed into a new textural element for use in a project. Even easier yet, I have found that ribbons of all different widths are perfect to use for this process.
Way back when, when I was first introduce to the concept of "pin weaving" fabric strips, a padded board was needed to actually pin the fabric strips into place while weaving.
Well, I am all about making things easy...
The way I have found that makes pin weaving nice and easy is to use Wet-n-Gone Tacky as a base for the weaving. This eliminates the need for pins and holds the completed woven areas in place very securely. Also, it is very easy to handle and work with while adding it into a project. When all done with your project, simply rinse the stabilizer away.
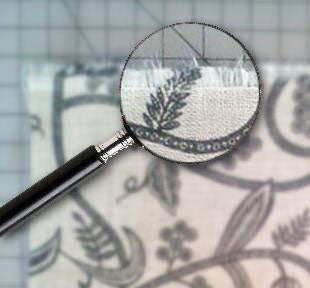
Here's how it works...Take a piece of Wet-n-Gone and place it, paper side up, on top of a gridded cutting mat, you can see the lines of the mat through the stabilizer. Use these as a guide to help keep your weaving rows straight.
Peel up some of the paper on the edges and tape the stabilizer down to the mat. Place paper back down onto the stabilizer.
Gather your Ribbons - For this example we will assume that you are using two different colors of ribbons. But of course, you can use as few or as many colors and widths of ribbon as you wish. You will want to have enough strips cut of one ribbon (we will call it A) that will cover the area that you want to have woven. So, if I want to have an area that is 10" x 12", I would want to have my ribbon cut into 13" (or so - gives us a little extra to work with) lengths. I will want to make sure that I have enough of them so that, placed side by side, they will be at lease 11" (again giving us a little extra).
Repeat the same process for your second color (B) of ribbon. Only this time you will want the strips to be 11" and you will need to have enough of them to measure 13" when side by side.
Prepare your first direction of ribbons (A).
On the end or your stabilizer that you want to begin weaving, fold back one edge of the paper about 2 inches. Using the lines on the mat as a guide, layout one of your ribbon colors (A) side by side in one direction. To weave, lift every other ribbon (A) and place (weave) your second color (B) through (over/under) the first color. Continue weaving alternating the ribbons that are lifted up. This locks the ribbons together and creates a checkerboard pattern.
When you reach an area on the stabilizer that is covered by the paper, peel back a couple more inches to expose the adhesive and then continue weaving.
Once you are done, the tacky nature of the stabilizer will hold your weaving together so it can be stitched into a project and then will wash out when laundered.
Use your woven piece as a fabric piece for appliqué or an accent for what ever project you may be working on.
The Table runner that is pictured here has multiple colors and widths of ribbons. The woven section was used in the center and has machine embroidered leaves surrounding it and anchoring the outer fabric and the ribbons securely into place.
Hope you have fun with this idea. Would love to see what you create!
Reva

