Photo: The back pieces of a vest lining pinned together for quicker assembly.
I do not sew quickly. Sometimes it's one of my greatest frustrations. Part of the problem is my penchant for experimentation and challenging projects. I just can't resist trying out new tools and techniques - after all,that is how we learn. While it definitely broadens my sewing horizons, it also leads to a lot of 'backwards sewing'!
The other factor is a lack of organization. I am easily distracted, and when I have several deadlines (and their related projects) stacked up at once, it's difficult to avoid total chaos.
That's when I turn to the experts. I am very grateful to Pati Palmer, Marta Alto, Nancy Zieman, Sandra Betzina, Claire Schaeffer and the rest of my reference book and dvd collection authors for their invaluable advice and suggestions.
So, as I scramble to churn out my projects, I thought I'd share some tips for getting the most out of your sewing time.
Step 1:
Do one task at a time for multiple projects. For example, rather than cutting out one project at a time, cut out several. Or fit several patterns. It's easier to stay focused if you are doing the same task. Plus, if your studio/work area tends to become an unnatural disaster when you work (guilty!) you will be more likely to use your space more efficiently. Cutting out or altering patterns takes dedicated table space - quite a bit of it. So while you have it cleared off for one project, you might as well keep going.
Step 2:
After you cut your garment pieces, pin them together. This helps prevent the dreaded 'two left sleeves' scenario. When possible, pin them in their construction order, as in the photo above. This vest back is ready to be taken to the sewing machine and sewn, without having to get up or down to pick up pieces or guess "now is this for the left or right back?" I don't normally use pins when sewing, but you get the idea!
Step 3:
Consolidate your sewing and pressing. Sew as many seams as you can, then go and press them all rather than sewing and pressing each individually. Again, projects may vary but often this is possible. There is no reason I shouldn't be able to do that with my vest project shown above.
Step 4:
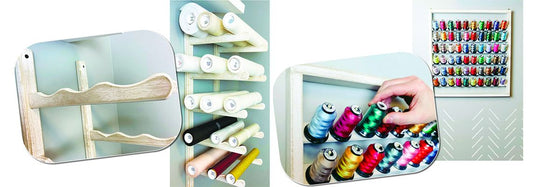
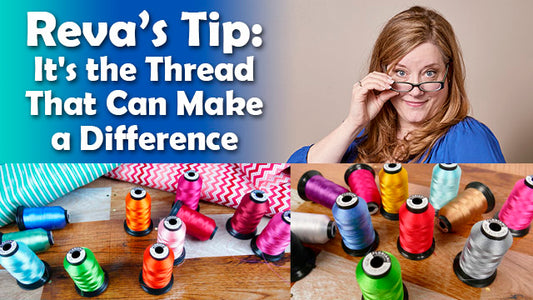
You don't always have to use different colored thread for every project. Seriously. If you are sewing for a competition, that may be a different story. But otherwise, no one should ever see your basic construction threads unless your seams are too loose or are straining. If you're sewing a lined, interfaced bag or garment, as long as the thread color doesn't show through to the front, you're fine. Similarly, when serging, only the needle thread is likely to show, if at all. The looper colors aren't as crucial.
There are many other ways to help speed up and streamline your sewing. I hope you will share some of your best tips with the rest of us! Keep sewing!
--Katrina