Sometimes when you're looking to make a quick hand-made gift, there is not much better than a pretty little kit containing all the coordinating fabrics and threads that you need to create a perfect project. Honestly, kits are far too often something that I "pet" as opposed to dismantle and cut up to create the designated project. I think that's okay, too; it makes me happy.
These Warm Hands Wool Felt Ornaments looked so cute I could hardly wait to tear into them and try out the new Brother ScanNCut. May I say: fabulous!!
Here are my step-by-step instructions on how I created these ornaments:
My theory is that if the felt is well stabilized, inside and out, then it will be less spongy and will cut better. That is why I chose to use the liquid stabilizer "Perfect Sew". When the fabric that is treated with the liquid drys, it becomes firm and crisp.
- First thing I did was to stabilize the felt with Perfect Sew. This is a liquid stabilizer that simply rinses out when no longer needed.
- I laid the felt pieces out on a cutting board and then poured a puddle of Perfect Sew onto the felt.
- To smooth out the Perfect Sew and completely coat the felt, I used the back of a spoon to spread the liquid around. The Liquid is thick like honey.
- Once this side was coated, I flipped the felt over and repeated the process.
- My goal was to get the felt fully saturated.
- As soon as I was satisfied, I hung the felt pieces to dry on a line over my laundry sink. To secure the pieces to the line, I used Wonder Clips - they are good for so much more than just quilting!
- Felt on the mat and ready to be cut. Once dry and ready, I placed the felt pieces next to each other on the prepared ScanNCut fabric mat. By this, I mean that the mat had the extra sticky fabric carrier sheet on it and it is ready to go.
- Now it was necessary to get the pattern for the mitten that I wanted to make into the ScanNCut so it could cut out the pieces for me. This was done by having the machine scan the pattern.
- To scan the pattern booklet, I used the optional Scanning Mat. The clear overlay of this specialty mat held the booklet in place nicely.
- I used the included deep cut blade for cutting the wool.
- Once the pattern was on the screen to be used, I used the feature on the ScanNCut that scans and displays an image of what the mat, and it's contents, look like. This allows the user the ability to actulally see where the different fabrics are located and the shapes can be visually placed in the right spot.
- With the pieces cut, layer the pieces as the instructions state. Use the decorative stitches from your machine to add the embroidered decoration. They are so much fun to sew. You will probably find some that look like the stitches suggested in the pattern. I found that the Perfect Sew also made stitching the decorative stitches ideal! No puckering or shifting.
- Line up the fabric edge with a reference point on the machine's foot (the foot I am using is called the "Sewing Stars" foot).
- To give more of a "hand" look, I chose a stitch that repeats each stitch several times so that it is heavier. Also, I chose to use a cotton embroidery thread so that it looked more like cotton floss.
This is a great kit, designed for handwork, that is so easily adjusted to be done on machine.
These little gems make such cute ornaments or gift holders. You will want to make a passel of them.
Happy Sewing,
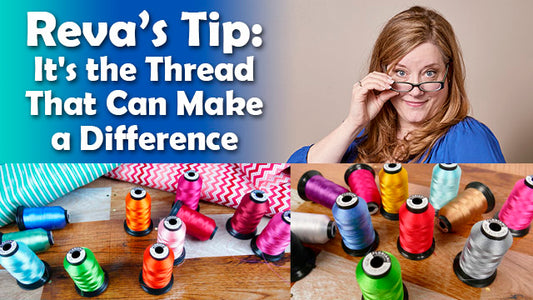
Reva