


How Do I Make My Own Screen-Printed T-Shirt with a ScanNCut?
Brother’s ScanNCut takes the fuss out of cutting—no more tracing, stencils, or aching hands. Just scan your design and let the machine do the work. Easy to use, easy to love—because crafting should feel joyful, not frustrating.
Learn how to screen print like a pro with your ScanNCut as well as clean and care for your screen so you can use it again and again to make multiple matching shirts with ease. Our two part video series and instructions below will walk you through the entire process.
In Part 1, Carmen and Andrea show you how to use AI to design your decal or image, prepare it for cutting, and get your artwork ready for screen printing.
In Part 2, they take it a step further — demonstrating how to cut and weed your design, apply heat transfer vinyl, and create a reusable screen print template.
Watch both videos and follow the step-by-step directions below to start creating your own screen-printed projects today!
Use AI + ScanNCut to Make Custom Projects
Hi, Andrea and Carmen from Quality Sewing & Vacuum, and today we're going to walk you through one of our absolute favorite DIY projects using AI and your ScanNCut machine to make your own silk screen t-shirts. Screen printing is a breeze when you have a few basic tools plus a bit of technology assistance.
First, we need to prepare your artwork and examine your desire to make a particular type of graphic image. You'll need to come up with a prompt in order to make your design with AI.
Example Prompt Format (Style + Subject): Copy the prompt below to get started, and then branch off on your own.
"Create an image: Style: Black and white silhouette design, with a simplified, spooky style. Subject: Halloween themed a sewing machine and tools. Add Ons: Use the words "Sew Scary"

Step 1: Create Your AI Image
- Open Gemini on your computer.
- Think of what image you want it to create.
- Add keywords like Logo, Black and White Silhouette, Simplified, and your desired style (e.g. Vintage, Classic, 70’s bubble wording).
- Ask it to remove or add elements as needed until the image feels right.
- Rephrase prompts and try multiple times for best results.
- Copy the image and paste it into a blank document.
- Print to ensure clean, smooth lines suitable for weeding.
Additional Tips for image generation:
- Get really specific: Don’t just say “dog photo”. Go for “a golden retriever puppy curled up on a rain‑slick porch at sunset, soft orange glow, gentle rain drops falling.”
- Use Commas: Separate elements with commas. It helps the tool understand how to structure the scene more clearly.
- Mention a Style: Add an art or camera style to guide the feel. Think in terms like “macro photo,” “watercolor,” or “isometric drawing” to steer the tool in the right direction.
- Test and Tweak: The first result might not be perfect. Adjust your wording, run a few variations, and refine until it clicks.
Once you’ve got your image ready, it’s time to prep your materials and load the file into your Brother ScanNCut. This part always feels a little magical—your design goes from digital to physical in minutes. We use the ScanNCut’s “Half Cut” setting to cleanly slice through heat transfer vinyl without cutting through the backing, which makes weeding quick and easy.
No matter if you’re starting with an SVG from something like Google Gemini or just a quick sketch you doodled yourself, the ScanNCut really shines at picking up all the tiny details. Also, if organza sounds intimidating as a stencil, don’t sweat it. It’s super light, easy to place, and honestly perfect for this kind of project.
Once you’ve cut and weeded your vinyl, just press it onto your organza fabric, pop it into an embroidery hoop, and you’re ready to go. The whole process comes together quicker than you’d expect—and there’s something oddly satisfying about watching it all click into place, especially that first time.
Step 2: Scan, Cut, and Apply
- Place image between the scanning mat and top clear sheet.
- On the machine, go to Scan → choose save to machine or USB.
- Load mat and press Scan Image.
- Rescan if air bubbles appear, then crop around image and press Save.
- Return to Home → Retrieve Data from lower left icon.
- Resize, edit, and reverse the image if needed.
- Move image to center of the cutting mat on your screen.
- Take your mat and load heat vinyl, open wrench icon → select Half Cut.
- Have the ScanNcut cut out the design, removing it from the cutting mat, then weed out positive spaces.
- Lay down non-stick pressing sheet and iron image onto fabric.
- Once cool, hoop the screen template into a wooden round embroidery hoop, making sure to keep the design taunt in the hoop.
- Place a thick paper or piece of cardboard in the shirt. This will prevent ink from soaking through the front into the back.
- Use a scraper to apply a thin layer of ink evenly on the shirt. Scrape off any excess ink.
- Remove the design from the shirt & set the shirt aside to dry.
- Repeat to create multiple custom designs!
- When you're finished, clean off the excess ink from the design with mild scrubbing and water, and set aside to dry so you can use the template another time.

It’s a great way to make gifts, custom group shirts, or even start a small creative business. Once you try it, I think you’ll be hooked!
Make sure you've got each of these materials so you can give it a try yourself!
Tools you'll need:
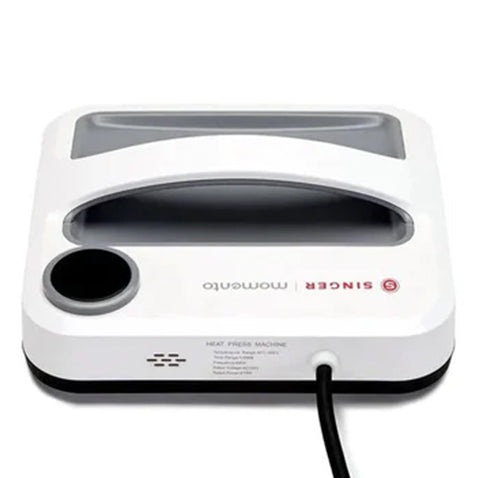
AI image generator (like Google Gemini), Brother ScanNCut machine, Heat transfer vinyl, Organza fabric, Embroidery hoop, Fabric screen printing ink, A heat press or iron (I used the Singer Momento).
(Check below for links!)
Just like that, you’re done creating your own screen printed T-shirt using AI and a few craft supplies you might have at home. This is a super flexible project that doesn’t require expensive materials or equipment to get started.

Heat transfer vinyl
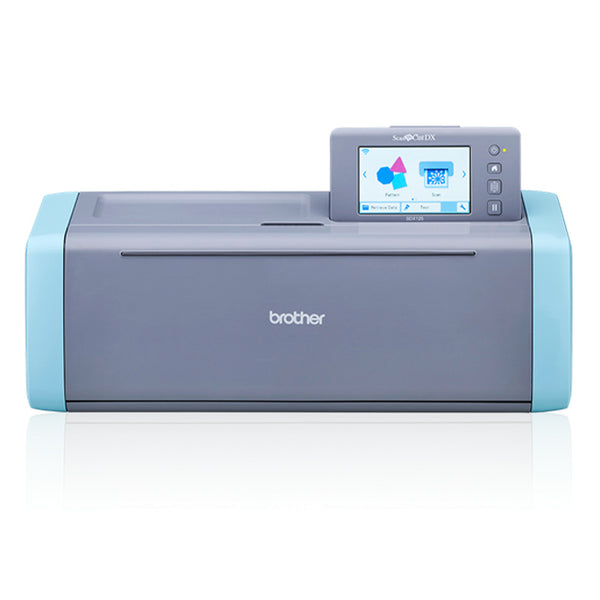
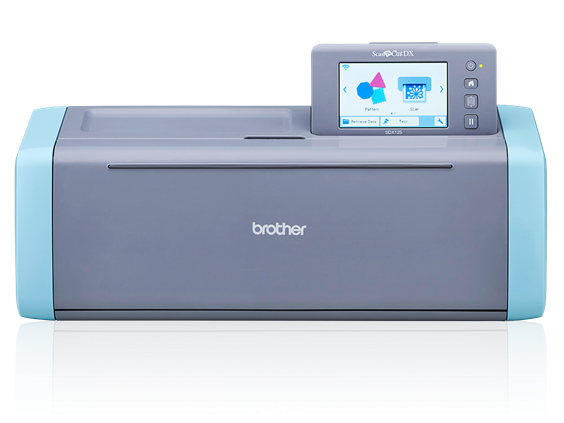
Brother ScanNCut SDX125E

Heat Press or Iron

ScanNCut Scraper

ScanNCut Tool

ScanNCut + AI: What You Need to Know
What is AI image generation and how does it work with my ScanNCut?
Think of AI image generation like having an ultra-creative friend who can draw anything you imagine instantly. You just need to type in a phrase such as “heart outline” or “vintage sewing logo” in a program such as Google Gemini and it will come up with a logo for you. You just have to print it out, scan it in your ScanNCut, and it will do its magic!
Do I need to be good with computers to do this?
Not one bit. If you can type and click ‘print,’ you've got this. Gemini will take care of your artwork, and your ScanNCut will take care of your cuts. No coding or technical issues, just a few clicks, and you're off and running.
Can I use colored paper or photos for scanning?
Stick with white paper and bold black designs for the cleanest cuts. Colored or glossy paper can throw off the scanner’s sensors, making it harder for the ScanNCut to find your edges. Simple and sharp always works best.
What does “Half Cut” mean on my ScanNCut?
“Half Cut” is your secret weapon for vinyl projects. It tells your ScanNCut to cut just the top layer of vinyl, while leaving the backing sheet perfectly intact. That means your design stays in place, making it way easier to weed and apply for any design like a custom t-shirt or a decal for your mug.
How can I tell if my image will cut cleanly?
Quick check before scanning: Now, take a look at your scanned image before you cut it out. You will want black lines that are solid and heavy, and you definitely do not want areas that are faint or have gaps in them. Areas that are too light? Well, you just have to go back and trace them in black.
What materials can I cut once my AI design is ready?
Now that you have your printed AI, your project is limitless in terms of your creativity. You can cut heat transfer vinyl, adhesive vinyl, cardstock, backed fabrics, or thin felt. You just have to make sure you have your mat and your blade in place. You're now capable of creating your own greeting cards, pillows, or wall decorations.